How To Install An LED Downlight: Step by Step guide
LED downlights are very fashionable at the moment and are the perfect finishing touch to any modern room. Many people choose to use the services of an electrician when installing an LED downlight in their home, however it is perfectly possible to carry the fitting out yourself if you follow our step by step instructions.
Before beginning any electrical work in your home be sure to check your insurance policy to ensure that you will not be invalidating your cover by working on your electrics yourself. Some policies require all electrical work to be carried out by a professional. Also make sure that you have properly isolated the electrical circuit and that there is no chance if it accidentally being switched on in order to prevent any accidents or injury.
Read all instructions that came with your downlights carefully before proceeding - fitting this type of lighting involves cutting holes in your ceiling so it is important that you prepare thoroughly before beginning work.
1. Mark out the position where you want your downlights to be located on your ceiling first. Measure your downlighter carefully in order to ensure your circles are the correct size and check there are no joists or wires in your way before you start cutting.
2. Cut out the circles carefully. This can be done using a plasterboard saw or pad saw. Ensure that you do not cut anything above the ceiling.
3. Feed the wiring through the holes. Using a Chocbox connect the wires into the connector strip and hold the ends of the wire in place with the cord grips. All the lights on your circuit will have two wires to be wired into the Chocbox except the final light which will only have one wire as it is the end of the circuit.
4. Fasten the Chocbox and screw the connector cover closed. Push the Chocbox up into the hole.
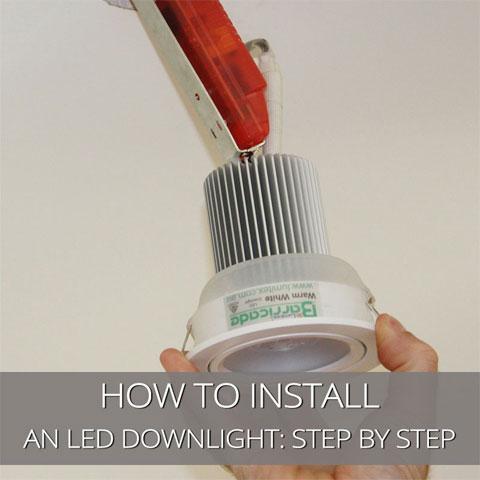
5. Push in the two lugs on the LED downlight and then push the light up into the hole that you have made.
Now you can have smart new LED downlights in your home.