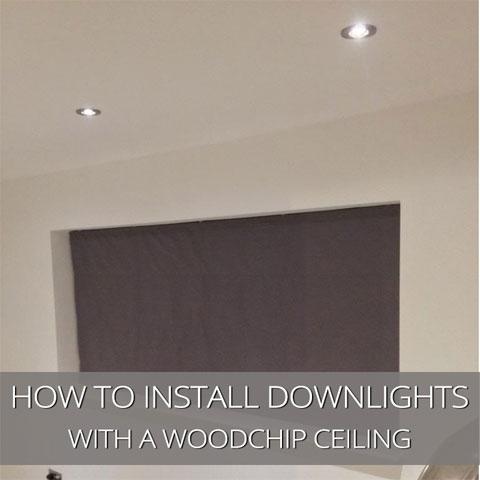
How To Install Downlights With Woodchip
When working with electricity remember to follow the basic safety isolation procedures if you are not going to employ an electrician to fit the downlights. Locate the correct isolation point then check the condition of the voltage indication device - confirm that it is in working order. Switch off the circuit to be isolated and check that there is no voltage.
Lock off or secure the device that has been used to isolate the circuit and put a warning notice on it to avoid any accidental reconnection. Now you are ready to fit your downlights. Before starting any work remember to calculate whether your existing lighting circuit can support the extra lights:
Total Watts/Voltage=Amps
and then don't forget to add Diversity which is 66% of the total load:
Amps/100x66=Diversity
Decide where you want to place the lighting. Measure out the ceiling and mark the central point of the light then drill a small pilot hole through the ceiling. Once you have marked out the positions it is a good idea to use the small pinpricks of light coming up from the ceiling to check from above that there are no joists, wires or pipes in the way.
If you cannot check from above then it is advisable to find out where the joists are and the width between them; then get a wire coat hanger and bend it in a 90° angle in line with the width of the downlight. Insert the wire fully through the pinhole and turn it a full 360° to ensure it does not bump into any electrics or pipes.
Follow the instructions on the box to get the size of the cut out and then use a hole saw (a drill bit) to match the correct size of the light, which is available from the Downlights Direct lighting accessories section. Once you have cut a clean hole you are now ready to feed through the wiring ready to be wired. The downlight can be fitted into the hole by holding the two springs back against the sides of the light and pushed up into the hole. The springs then lie flat on the top of the ceiling holding it in place.

